poniedziałek, 1 czerwca 2009

Cinema 4d Tutorials: Sketch and Toon Cigarette

Sketch and Toon module allow you to create cartoon like renders very easily and effectively. Let’s create a cigarette using this module.

Create a Cylinder, rotate it, set Height to 280 and Radius to 10.
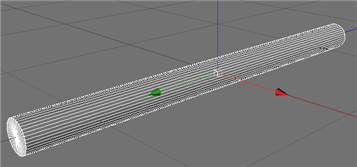

Make object editable (shortcut C). Go to the top view (Cameras->Top)
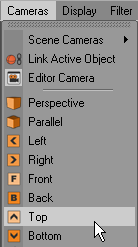

and use Knife. Uncheck Visible Only, make a cut.
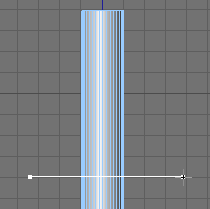

Use Live Selection Tool, uncheck Only Select Visible Elements. Select polygons.
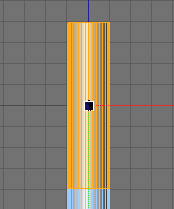

Create new material. Select Noise on the Color Tab.
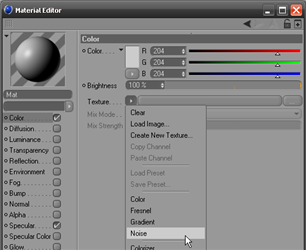

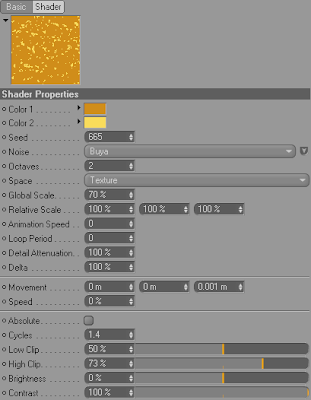
Click on the noise image to go inside Options.


Enter options like on the image. Set Color 1 (208, 141, 26) and Color 2 (249, 220, 91).

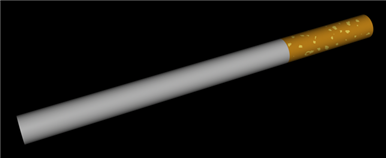
Drag the material onto the cigarette.

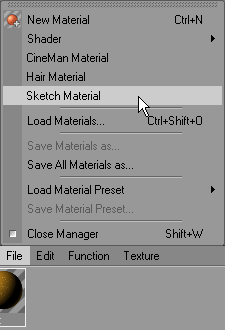
Now make it look like cartoon. To do so select Sketch Material

Let’s render this.
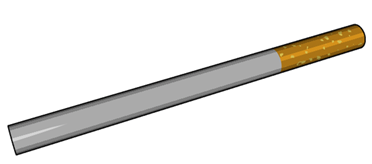

Let’s change some options. Create Light Object. Go to Render->Render Settings and change quantize from 6 to 3.
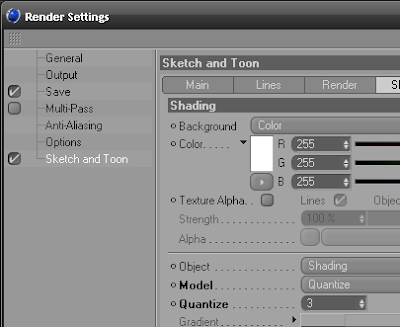

Render image.
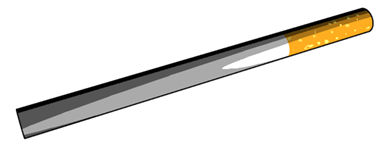

And now it’s time to create the cigarette’s glow effect.
Create a new material and set the options.
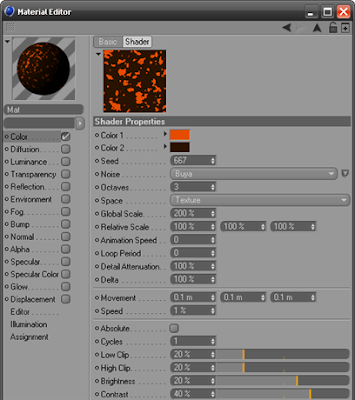

The end effect should look like this.
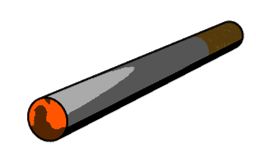

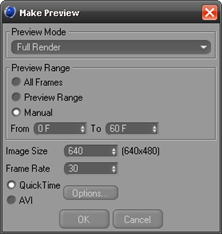
You will get a much better effect when you render a preview. Just go to Render->Make Preview (shortcut Alt-B).

In your material you have set the movement options, so the effect is animated.

This is my site about tutorials for 3ds max.
Cinema 4d Tutorials: Dynamics

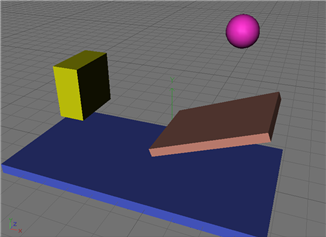
In this tutorial I will show you how to create a basic object interaction using very simple objects. First create four Objects - three Cubes and a Sphere.

Ramp: X:400, Y:30, Z:300
Floor: X:1000, Y:40, Z:500
Box: X:100, Y:200, Z:200
Ball: Radius: 50


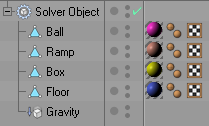
Make all objects editable. Now go to Dynamics and create Solver Object and Gravity. Insert everything into Solver Object.


For Ball, Ramp, Box and Floor create Rigid Body Dynamic(Right click on the object’s name, Dynamics Tags->Rigid Body Dynamic). Now click play.


Notice that everything is falling down. This happens because inside every Rigid Body Dynamic Tag the Total Mass equals 1. Change the Total Mass to 0 for objects Floor and Ramp, so Gravity and Collision with objects won’t affect their position. For Ball change it to 10.
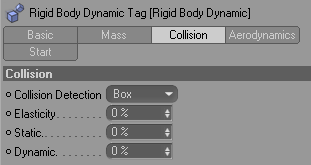
Make sure that you are on the first frame. Click play. This time Floor and Ramp stay on their positions, but other objects fly through them, because Collision isn’t set. Click on the Rigid Body Dynamic Tag and change the options.


There are a few problems. First animation ends too quickly, the Ball moves too slowly and the objects don’t touch each other.
To change the animation length click on the Solver Object, then on the Main tab change Stop to 300F. Also change it on the Timeline.


To make objects touch each other, again, go to Solver Object and Detail tab, change Collision Eps to 2. Go to Main tab and change Oversampling to 32. Click on the Gravity Object and change strength to 4. We have a Ball, so we want it to bounce. Go to the Rigid Body Dynamic Tag of every object except Box to change Elasticity to 100%, in the Box change it to 20%. Click play.

Check out my new site about online games - gry online

Cinema 4d Tutorials: Grass


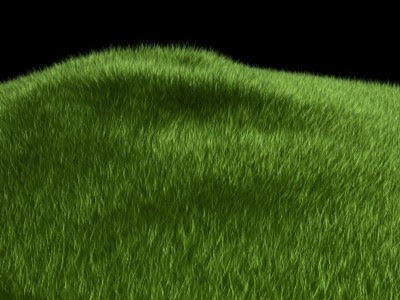
This tutorial shows how to make 3d grass in Cinema 4d 11, but can also be made in earlier versions of the application. I didn’t use here any additional plugins, only Fur Object.
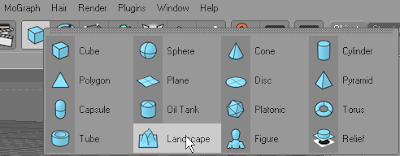
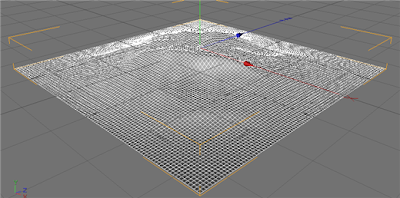
First, we have to place our grass on an Object. We could use Plane and then Magnet Tool to simulate ground, but instead will use Landscape.


Now when you have created Landscape, Make object editable (shortcut C).


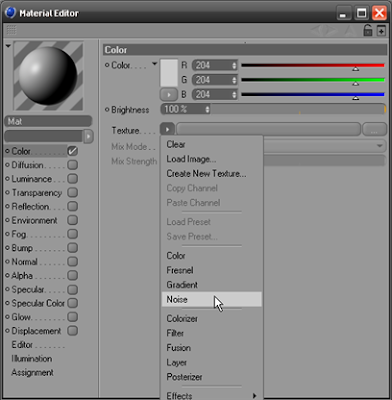
Create a new material to simulate ground. We don’t want our ground to reflect light, so turn off Specular. Go to color tab, it can be plain dark brown, but we will choose Noise.


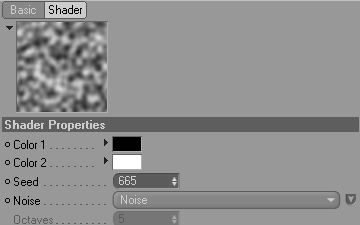
Click on the button to go to the noise options


Change colors which are best for ground. I’ve used two dark brown colors.


Drag the material on the Landscape.
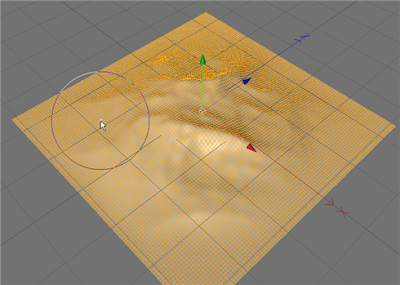
It’s time to apply Fur to our Landscape. Select Live Selection Tool, check Only Select Visible Elements and change Radius to 100. Make sure that Polygon Tool is selected.


Select all polygons.


Now choose Hair->Fur. Click on the Fur Material.


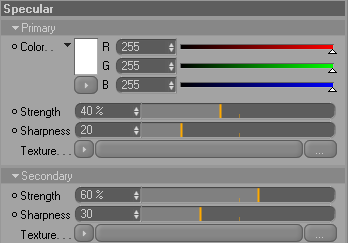
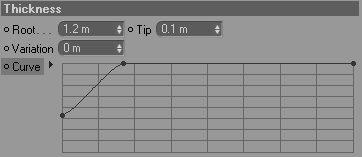
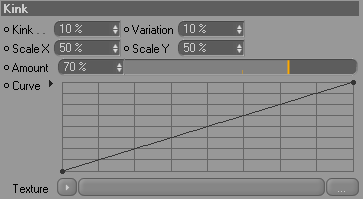
Go to the Basic tab in the Attributes Window and select the following options.


Color


Specular


Thickness


Scale


Kink


Wave


Click on the fur.


Change options.


Done.

Check this site about One Cup Coffee Makers. You can find there coffee makers from top brands.